Build a Switchable Lamp in Roblox Studio with ProximityPrompt
Create a small lamp in your own place, wire its interaction prompt to a server Script, and give the shared switch a short cooldown.
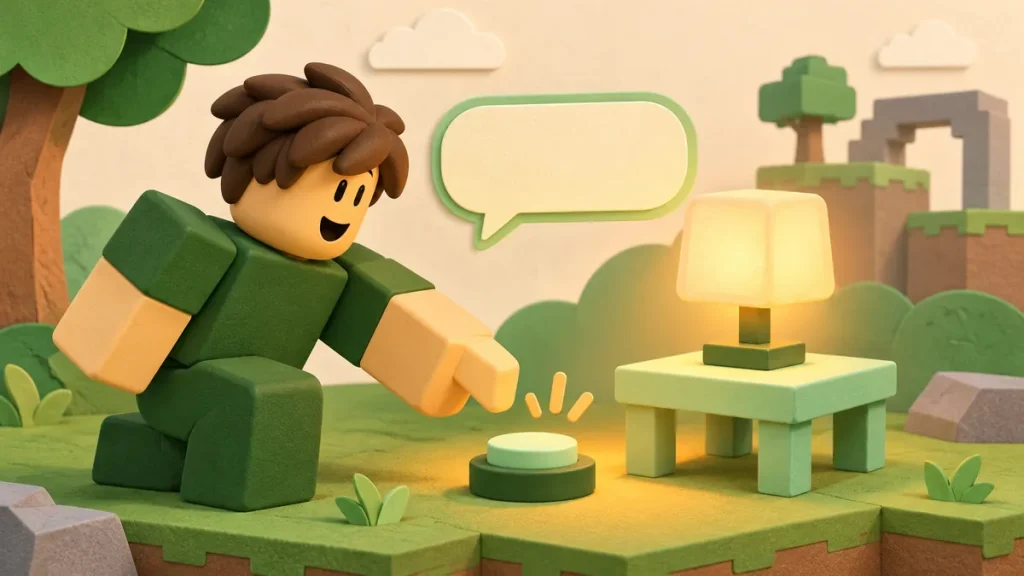
A lamp is a useful first interactive object: the player approaches it, activates a prompt and sees a clear change. This guide builds that interaction in your own Roblox Studio place. It changes a light and a part’s appearance, without downloads, external loaders or access to another player’s game.
The finished object has one shared on/off state. If two players stand beside it, they operate the same switch. The example does not save that state after the server closes.
Build the object before adding its behavior
Open a Baseplate place. Insert a Part into Workspace, rename it WorkshopLamp and enable Anchored so it stays in position. A size of roughly 2 by 2 by 2 studs is enough. Put it a short walk from the spawn point and a little above the floor.
Add a PointLight, a ProximityPrompt and a normal Script as children of WorkshopLamp. Keep their default class names for the light and prompt, and rename the Script LampController. Your Explorer structure should look like this:
Workspace
  WorkshopLamp (Part, Anchored = true)
    PointLight
    ProximityPrompt
    LampController (Script)
For PointLight, set Brightness to 2 and Range to 12. For ProximityPrompt, set ObjectText to Workshop lamp, MaxActivationDistance to 8 and HoldDuration to 0. Leave the default prompt style. The script will supply the action text as the state changes.
A bright daytime scene can hide the pool of light. You can test under a small roof or temporarily make the place darker. The lamp part also changes appearance, so the switch still has visible feedback when the lighting is subtle.
Add the complete server Script
Paste the following into LampController. Use a normal Script with its default execution settings under the Workspace part. A LocalScript in that location is not the setup used by this guide.
local lamp = script.Parent
assert(lamp:IsA("BasePart"), "LampController must be inside a Part")

local prompt = lamp:WaitForChild("ProximityPrompt")
local light = lamp:WaitForChild("PointLight")

local isOn = false
local nextChangeAt = 0

local function applyLampState()
    light.Enabled = isOn
    lamp.Material = isOn and Enum.Material.Neon
        or Enum.Material.SmoothPlastic
    lamp.Color = isOn and Color3.fromRGB(255, 225, 155)
        or Color3.fromRGB(70, 75, 80)
    prompt.ActionText = isOn and "Turn off" or "Turn on"
end

applyLampState()

prompt.Triggered:Connect(function(player)
    local character = player.Character
    local root = character and character:FindFirstChild("HumanoidRootPart")
    local humanoid = character and character:FindFirstChildOfClass("Humanoid")

    if not root or not humanoid or humanoid.Health <= 0 then
        return
    end

    if (root.Position - lamp.Position).Magnitude > 10 then
        return
    end

    local now = os.clock()
    if now < nextChangeAt then
        return
    end

    nextChangeAt = now + 0.5
    isOn = not isOn
    applyLampState()
end)
Follow the state instead of adding another loop
isOn is the one source for the lamp’s current state. applyLampState updates the PointLight, material, color and action text together. The initial call starts the lamp off; subsequent calls follow an accepted interaction.
The event supplies the player who activated the prompt. Before changing the lamp, the server checks that this player has a living character near it. The prompt appears within 8 studs, while the server accepts up to 10 to give a small margin around the interaction. Those distances are choices for this tiny object, not universal settings for every game.
The final check enforces half a second between accepted changes. That timer belongs to this lamp, so one player briefly blocks another from flipping the same switch straight back. There is no waiting loop and no need to make a new timer every frame.
Check the result in Play mode
Use Play so that a character can walk to the lamp. Activate the displayed prompt: the expected result is a warm-colored Neon part, an enabled light and action text offering to turn it off. Wait a moment and activate it again to return to the dark state.
| Action | Expected behavior |
|---|---|
| Start a fresh session | The lamp starts off. |
| Activate from nearby | The lamp changes once and the action text updates. |
| Send another interaction within half a second | The shared cooldown rejects the extra change. |
| Test with a second Studio client | Both players see the same lamp state. |
| Stop and start again | The state resets because nothing is saved. |
If a check fails, write down the exact action and the first server Output error. Change one thing at a time so you can tell which correction fixed it.
Fix the common setup mistakes
If no prompt appears, inspect its Enabled property, distance and line of sight, then confirm that it is a child of the Workspace part. If the prompt appears but nothing changes, look in server Output for the first error and confirm that LampController is a Script.
A warning about waiting for PointLight or ProximityPrompt usually means the child is missing or its name differs from the string in the code. Renaming WorkshopLamp itself is fine here because the script uses script.Parent; renaming a child without changing WaitForChild is not.
Neon makes the part look bright; PointLight provides the nearby illumination. Seeing a bright material does not by itself prove that the light is enabled or that its range reaches the floor.
Extend one thing at a time
Duplicate the whole lamp part to make a second independent switch. Each copy gets its own local state and cooldown through its own Script. Once that works, try changing the on-color or making a small sign that reflects the same state.
For help reading an error, use the Studio Output guide. The first-script walkthrough covers the basic editor workflow if this is your first project.
References
- ProximityPrompt reference — prompt settings and the Triggered event.
- PointLight reference — the light object used here.
- Roblox debounce patterns — controlling repeated interactions.
- Client-server boundary guidance — checking interactions on the server.

Comments 0
No approved comments yet. Start the discussion.