Write Your First Luau Script in Roblox Studio
Create a small checkpoint in your own Studio project, change its appearance with Luau and learn how to verify the result in Explorer and Output.
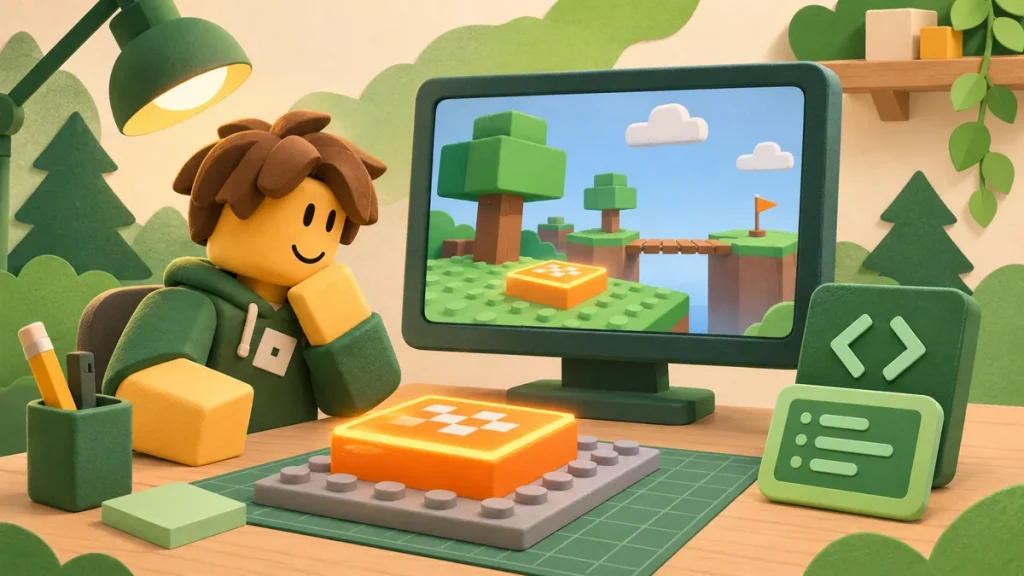
Let’s make a small orange platform. One server Script will create it, keep it anchored in place and print two messages. It’s a modest first project, but you’ll be able to explain every line of it.
Use your own Studio project for the lesson. The results described below are what this code should produce; note your Studio version and what you see when you try it.
Prepare a small, repeatable workspace
Follow the official Studio setup instructions, then open a new Baseplate project. A clean scene makes it much easier to tell which object your script created.
You’ll need Explorer, Properties and Output. If a panel is hidden, find it in Studio’s current menus. The Output reference describes access through the Window menu or Script toolbar.
Add a Script under ServerScriptService, call it CheckpointLesson and set RunContext to Server in Properties. Check the file type as well as the name: renaming a LocalScript doesn’t turn it into a server Script.
Add the complete example
local checkpoint = Instance.new("Part")
checkpoint.Name = "LessonCheckpoint"
checkpoint.Anchored = true
checkpoint.Size = Vector3.new(8, 1, 8)
checkpoint.Position = Vector3.new(0, 3, -12)
checkpoint.Color = Color3.fromRGB(70, 170, 110)
checkpoint.Parent = workspace

local function setCheckpointActive(isActive: boolean)
    if isActive then
        checkpoint.Color = Color3.fromRGB(255, 190, 60)
    else
        checkpoint.Color = Color3.fromRGB(70, 170, 110)
    end
end

print("Checkpoint created:", checkpoint.Name)
setCheckpointActive(true)
print("Checkpoint active:", true)
Paste the complete example into the Script Editor. Keep the straight quotation marks and the function’s closing end. A rich-text editor may quietly change punctuation, so it isn’t a good place to prepare this code.
Read the object setup before running it
The first section creates a Part and sets its name, size, position and color. Anchored keeps it fixed in place. Assigning Parent to workspace puts the part into the running world’s hierarchy.
Look for LessonCheckpoint in Explorer if you can’t see it in the scene. Its position is away from the origin, and your camera may be facing elsewhere. Find the object before changing code that may already be working.
Despite the name, this isn’t a finished checkpoint system. It creates a checkpoint-like marker; saving progress and moving a player back to it would be separate lessons.
Understand the function call
setCheckpointActive takes a boolean. true selects orange; false selects green. The function definition describes those choices, and the call near the bottom selects one of them.
The boolean annotation helps the editor check how the function is used. In this lesson, we pass the literal true ourselves, so there isn’t an external input to validate.
You’ll probably only notice the orange state. The code switches to it immediately after creating the part; there’s no pause that holds the initial green color on screen.
Run and verify two independent outcomes
Start a playtest and check two places: the object in Explorer and the messages in Output. A print can succeed while the object sits outside your camera view.
| Where to look | Expected observation | If it is missing |
|---|---|---|
| Explorer during play | LessonCheckpoint under Workspace. | Confirm the Script is enabled, in the stated container and using Server context. |
| Properties | Anchored is enabled; the part has the specified size and position. | Check that you selected the lesson’s part. |
| Scene | The final part color is orange. | Inspect the activation call and the selected object’s Color. |
| Output | The two labelled messages appear from the script. | Check the context filters and the earliest error message. |
Stop the test, then start a new one for the next change. The object created during play is runtime state; it doesn’t replace saving the project’s source and editing model.
Make one change at a time
Change setCheckpointActive(true) to setCheckpointActive(false). On the next run, the final color should be green. You’ve changed one input while leaving the setup alone, which makes the result easy to explain.
Try changing Size next. Leave the function unchanged and inspect the part’s Size property during play. Camera perspective can be misleading; a property value gives you a clearer comparison.
If the example fails, save the first relevant error and the version of the code that produced it. Replacing it with a larger downloaded script would introduce more unknowns before you’ve found this problem.
What to save with your project
Save through Studio’s normal workflow. For your notes, record the Script’s location, RunContext and the changes you tried. Useful screenshots show Explorer, the relevant properties, the code and the resulting part with Output.
Before moving on, explain the two sections in your own words: the first creates the object; the function changes its appearance. If you can point to the line responsible for each result, you’re ready to extend the example.
Comments 0
No approved comments yet. Start the discussion.